Audio To Text

Design workflow

Plan a canva audio to text workflow for your next design

A canva audio to text workflow starts with the words you need, not the layout. Transcribe the recording, check it against the audio, then shape the result into captions, a script, or short text blocks for your Canva project.

Review all words against the recording
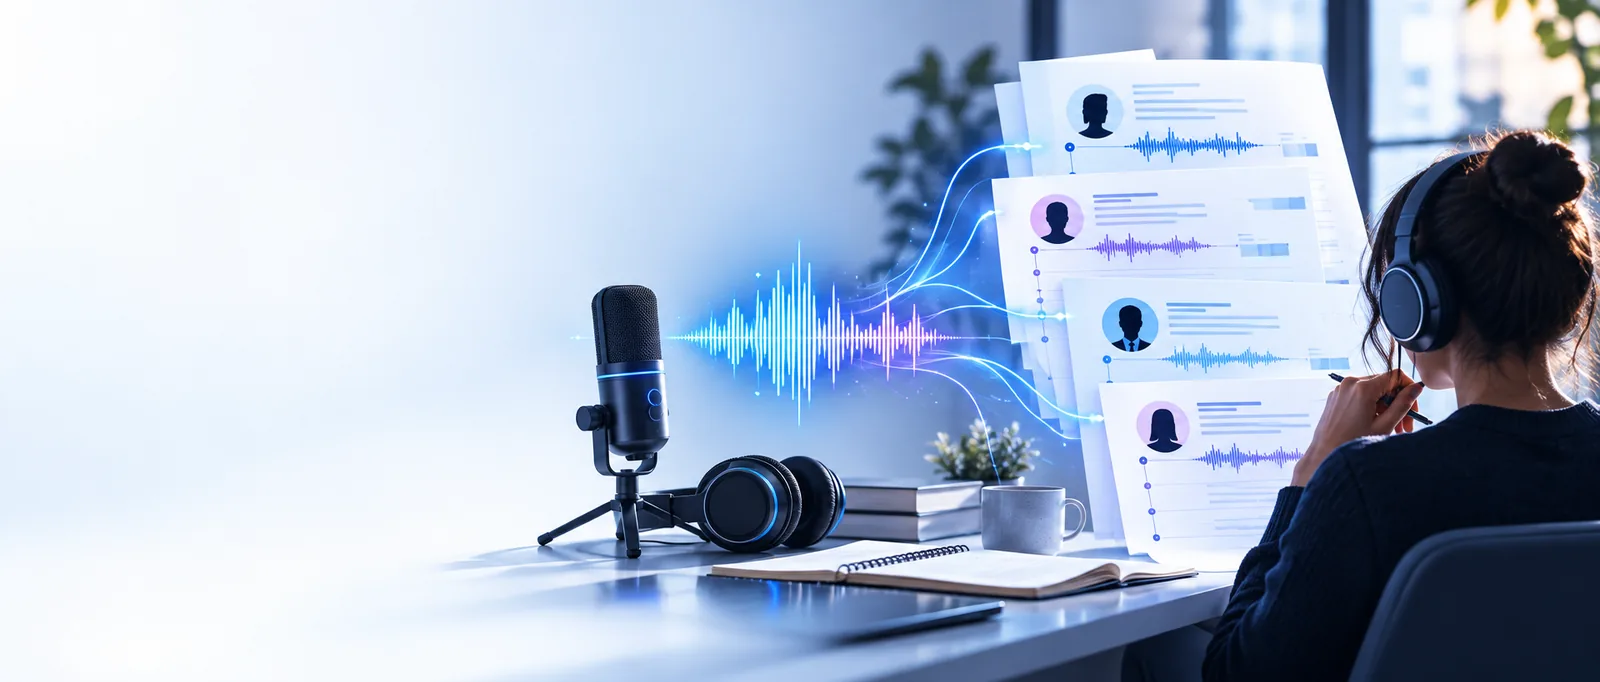
Audio To Text landing-page visual

What this scenario must deliver

Different Canva projects need different versions of the same speech. Pick the deliverable before editing the transcript so useful details do not disappear.

Social video editor

A spoken clip needs short, readable lines that can fit a vertical video without covering the speaker.

A checked transcript and a separate set of caption-length lines. A similar short-form starting point is voice message to text whatsapp.

voice message to text whatsapp
Presentation maker

A recorded explanation contains more detail than any single slide can carry.

A full reference transcript plus brief slide copy that preserves the speaker’s main claims.

transcribe audio to text examples

Course creator

Lesson narration must become on-screen prompts and a script for later corrections.

A reviewed script with names and terminology checked before selecting text for the design.

how to transcribe audio to text in word

Interview publisher

A quote card needs one accurate sentence from a longer conversation.

A source transcript that makes it possible to verify the quote and its context.

free audio to text examples

Each item

Keep transcription, editing, and design placement separate. That makes it easier to find an error before it appears in a finished Canva graphic.

  1. 1

    Capture the spoken words

    Start with the recording you have permission to use. Produce a plain transcript first, retaining names, figures, and complete sentences rather than compressing them into design copy immediately.

  2. 2

    Check and divide the text

    Listen again while reviewing uncertain words. Mark speaker changes where they matter, then make a second version with short caption lines or selected quotes; keep the full transcript as your reference.

  3. 3

    Place and proofread in Canva

    Add the edited text to the appropriate design or video. Check line breaks, legibility, timing if relevant, and whether a shortened sentence still means what the speaker said.

The recording’s source can change the preparation work. These related guides cover file transcription, example outputs, and a different messaging-based workflow.

Quality bar

A transcript is a source document; Canva-ready copy is an editorial selection. The two should be checked against different requirements.

1

Purpose

Reviewed source transcript

Records what was said for checking.

Canva-ready text

Communicates a selected point in a design.

2

Length

Reviewed source transcript

Keeps the relevant speech in full.

Canva-ready text

Uses only what the available space or screen time supports.

3

Wording

Reviewed source transcript

Stays close to the recording, with corrections verified by listening.

Canva-ready text

May be shortened, provided the meaning is not changed.

4

Names and figures

Reviewed source transcript

Checked against the audio and, where possible, a reliable source.

Canva-ready text

Copied from the checked version without fresh guesses.

5

Speaker context

Reviewed source transcript

Identifies who said a line when attribution matters.

Canva-ready text

Includes attribution when a quote could otherwise mislead.

6

Final check

Reviewed source transcript

Replay unclear passages and correct the record.

Canva-ready text

Proofread spelling, line breaks, readability, and any video timing.

Quality bar

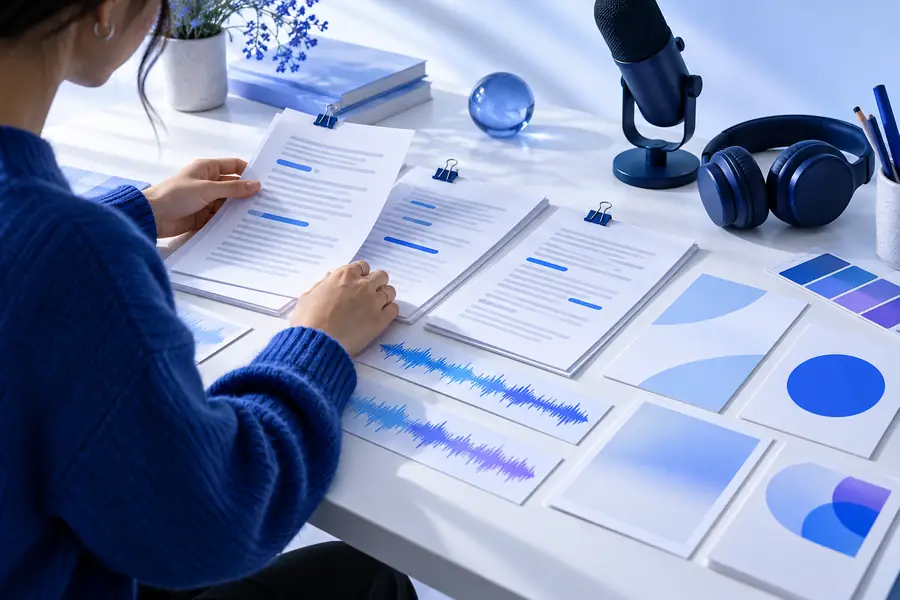
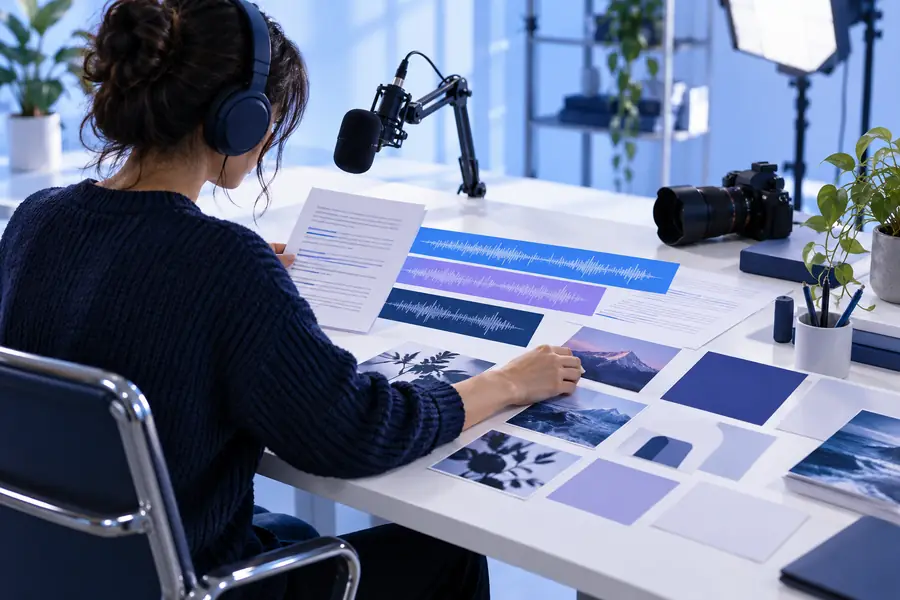
Treat the visual pair as a workflow illustration, not as proof that either pictured page generated a transcript.

  • Recording to review
  • Text to prepare

Before placing words in a design, compare the edited version with the recording. An attractive text layout cannot fix an inaccurate quote.

Illustration associated with preparing audio-derived text for a Canva project
Illustration associated with examples of transcribed and edited text

Common rework

A canva audio to text workflow does not remove the need for listening, editing, and design checks. Plan for these limits before publishing.

  • It cannot verify every word

    Noise, overlapping speech, accents, and unfamiliar names can produce plausible but incorrect text.

    WorkaroundReplay uncertain passages and verify names or figures separately.

  • It cannot make long speech fit a small layout

    A verbatim paragraph may be accurate but unreadable on a slide or mobile video.

    WorkaroundKeep the full transcript, then create a clearly edited version for the design.

  • It cannot guarantee caption timing

    A list of caption lines is not the same as captions synchronized to video.

    WorkaroundCheck each line against playback and adjust its placement or timing in the video editor.

  • It cannot clear usage rights

    Transcribing someone else’s voice does not grant permission to publish their words or recording.

    WorkaroundConfirm consent and attribution requirements before sharing the finished design.

Common rework

Start with words you can check

Prepare a transcript before cutting narration into Canva-sized copy. Keep the recording nearby while you correct uncertain phrases, select quotations, and proofread the final layout.

Prepare my transcript
  • Keep source speech separate from edited copy
  • Check names, numbers, and quotations
  • Review readability in the finished design

Scenario FAQ

Transcribe the recording, listen back to correct mistakes, and decide which parts belong in the design. Paste the reviewed text into your Canva project, then check its readability and, for video, how it appears during playback.

Usually not. Keep a full transcript for reference, then divide the relevant speech into shorter lines that a viewer can read; compare those lines with the recording so editing does not change the meaning.

Yes, if you have the right to use the material. Replay the quoted passage, preserve its context, and identify the speaker where attribution is needed before publishing the graphic.

Do not rely on a spelling that merely looks plausible. Replay the audio and check a reliable source for the name, then correct both your reference transcript and any text already placed in Canva.

Transcribe audio
Transcribe audio