Recording to transcript
A practical guide to how to use Audacity to transcribe audio to text
The key to how to use Audacity to transcribe audio to text is knowing where editing ends and transcription begins. Prepare the recording in Audacity, then use either a separate speech-to-text service or a compatible transcription plugin to make a draft.

Choose a route
decide which case you are (decision table)
Choose by what you have installed, not by the file extension. Audacity can prepare audio; speech recognition requires a separate tool or a compatible plugin.
-
1
Identify the job
If your recording is noisy, uneven, or much longer than the passage you need, start in Audacity. Open a copy, listen to the relevant section, and note where speech begins and ends. If it is already clear, extensive editing may add work without improving the audio to text result.
-
2
Choose the transcription path
Path A exports prepared audio and sends it to a separate transcription service. Choose it when you do not have a compatible Audacity plugin. Path B uses a transcription plugin inside Audacity, if one is installed and working on your computer. Neither path makes every spoken word automatically reliable.
-
3
Plan to verify the draft
Keep the original recording. After generating audio to text, replay names, numbers, overlapping voices, and any phrase the system marked as uncertain. Decide whether you need a readable edited transcript or a closer record of exactly what was said; that choice affects your final corrections.
External transcription
Open the recording in Audacity and save a working copy. Trim irrelevant silence, make modest corrections only where they help intelligibility, then export the passage you want transcribed. Submit that exported file to your chosen audio to text service and review its draft beside the original.
Plugin route
path B
For how to use Audacity to transcribe audio to text without exporting to another service, first confirm that a compatible speech-recognition plugin is installed. Audacity alone is an editor, not a guarantee of built-in transcription.
Path A: export to a service
Path B: compatible Audacity plugin
What you need
Path A: export to a service
Audacity for preparation, plus a separate audio to text service that accepts your exported file.
Path B: compatible Audacity plugin
Audacity plus a speech-recognition plugin compatible with your Audacity version and operating system.
First action
Path A: export to a service
Open a copy of the recording, listen, and select the relevant passage.
Path B: compatible Audacity plugin
Check the plugin’s installation instructions and confirm its transcription command appears in Audacity.
Audio preparation
Path A: export to a service
Trim unwanted sections and export a clear copy while retaining the source.
Path B: compatible Audacity plugin
Select the track or passage to analyze; prepare it conservatively if noise obscures speech.
Where recognition happens
Path A: export to a service
The separate service processes the exported recording under its own terms.
Path B: compatible Audacity plugin
The installed plugin performs recognition according to its own requirements and settings; processing location can vary.
Where text appears
Path A: export to a service
Inspect the service’s draft and use whatever export or copy options it actually provides.
Path B: compatible Audacity plugin
Inspect the plugin’s result, which may appear as labels or another plugin-specific output rather than a finished document.
If the option is missing
Path A: export to a service
Check the service’s accepted formats and the exported file before submitting again.
Path B: compatible Audacity plugin
Recheck plugin compatibility, installation, permissions, and any required model files; use Path A if it remains unavailable.
Final review
Path A: export to a service
Replay the original in Audacity while correcting the draft from the service.
Path B: compatible Audacity plugin
Replay the selected audio while checking each recognized segment and transferring the text into your document.
Review the result
final check
Treat recognized text as a draft, not as proof of what the speaker said. Compare it with the source before sharing or quoting it.
- Recording to inspect
- Draft to verify
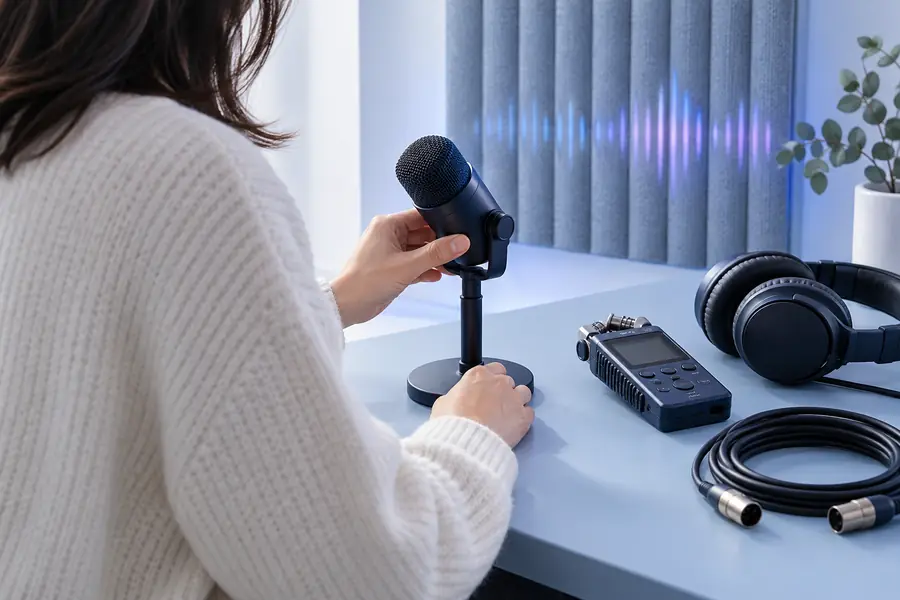
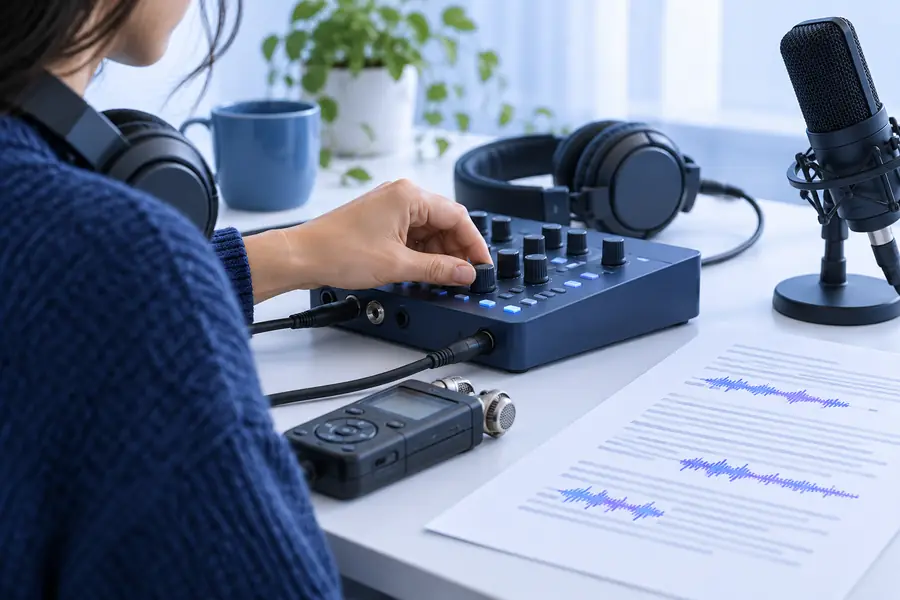
Illustrative images, not a promised Audacity interface or transcript. For a final audio to text check, replay short spans and verify names, figures, speaker changes, and any words hidden by noise.
Important limits
What the final check cannot fix automatically
Editing and recognition solve different problems. A clean waveform can still produce the wrong word, and a plausible sentence can still misrepresent the recording.
-
Audacity alone does not supply a transcript
Opening a recording and exporting it as a different audio format does not turn speech into text. A speech-recognition service or compatible plugin must perform that step.
WorkaroundChoose Path A, or install and verify a plugin before relying on Path B.
-
Missing speech cannot be restored reliably
Clipping, a distant microphone, and overlapping voices may remove information needed for accurate audio to text. Noise reduction may improve listening but cannot recover words that were never captured clearly.
WorkaroundMark uncertain passages, consult another recording if available, and avoid guessing.
-
Plugin availability is not universal
An Audacity tutorial showing a transcription command may depend on a particular plugin, version, operating system, or additional model download. Your menus may not match that demonstration.
WorkaroundCheck the plugin’s current documentation and keep the external-service path as a fallback.
-
A draft is not a verified record
Automatic audio to text can produce convincing but incorrect names, dates, or technical terms. Speaker labels and punctuation may also need human judgment.
WorkaroundReview important passages against the original and flag anything you cannot confirm.
Next step
Continue with your prepared recording
Ready to turn the recording into a draft?
Once you have checked and prepared the audio in Audacity, open Audio To Text to explore a transcription route. Check the available input and output options there, then compare any audio to text draft against your original recording before using it.
Transcribe my audio- Keep the original recording
- Check available file options
- Verify the resulting text
Common questions
tutorial FAQ
Audacity’s core purpose is recording and editing audio. To generate audio to text, use a separate transcription service or a compatible speech-recognition plugin; merely importing an audio file does not create a transcript. Check your installation before following instructions that mention a transcription menu.
Save a copy, listen through the recording, and select the speech you need. Trim unrelated material and make restrained adjustments if they genuinely improve clarity, then export a copy when using an external service. Keep the unedited source so you can check uncertain words later.
A tutorial may be demonstrating an optional plugin rather than a standard command in your installation. Confirm the plugin supports your Audacity version and operating system, and follow its current installation requirements. If it is unavailable, export the recording and use a separate audio to text service.
First listen to whether the noise actually obscures speech. Gentle cleanup may help, but strong noise reduction can damage quiet consonants and make the draft worse. Compare a short test passage with the original before processing the entire recording.
Replay short sections while reading the draft, paying special attention to names, numbers, negations, and overlapping speakers. Mark words you cannot hear clearly instead of filling gaps from context. For consequential uses, have another person review disputed passages against the source audio.